What is the Languages feature?
The multi-language feature allows your customers to choose the language they prefer while browsing your store. This helps you reach a wider audience, improve accessibility, and create a more comfortable shopping experience for customers with different language preferences.
📌 Article overview
- How to set up store languages
- Language management page overview
- How to add a new language
- How to set the default store language
How to Set Up Store Languages
Setting up languages in your store involves the following steps:
- Add the languages you want to support.
- Choose a default language for your store.
- Activate the language so it appears to customers.
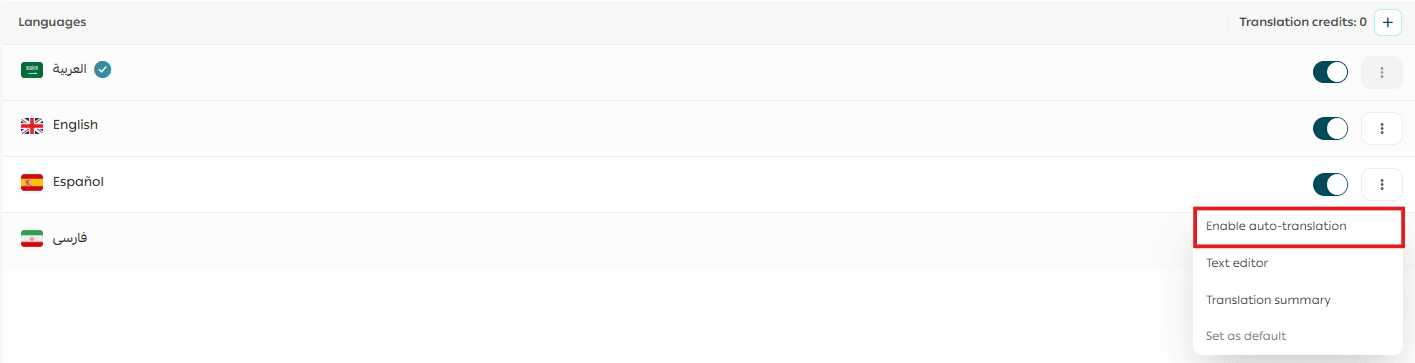
- Top up your Instant Translation balance and enable instant translation for the added language.
For more details, see: Translating your store using Instant Translation.
- To improve translation quality, disable instant translation for the added language and refine the content manually using the text editor.
For more details, see:
- Manual translation using the Text Editor
- How to enter data in multiple languages
Language Management Page Overview
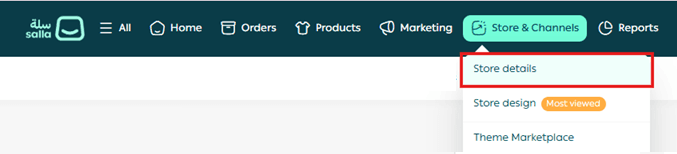
- From the main menu, go to Store & Channels, then select Store details.
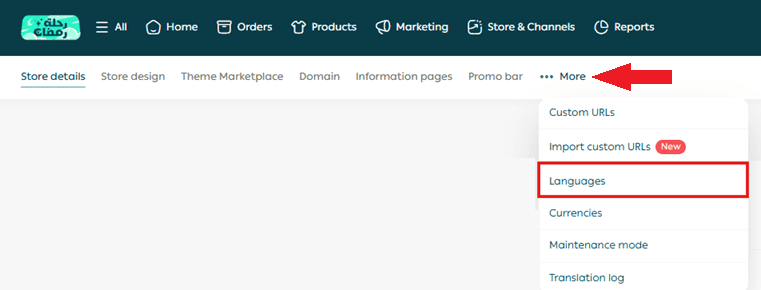
- From the sub-menu, click More, then choose Languages to access language settings.
- The language management page will appear.
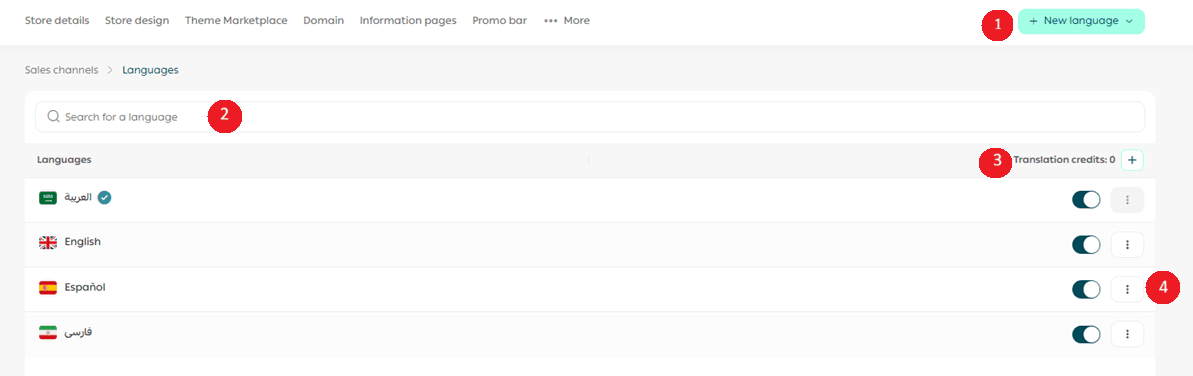
Key elements on this page include:
- Add New Language button to add additional languages to your store.
- A search bar to quickly find a specific language.
- A display of your Instant Translation balance, with the option to top it up.
- The ability to view and set the default store language.
For more details, see: Frequently Asked Questions about Languages.
How to Add a New Language
- From the Add New Language list, select the language you want to add to your store.
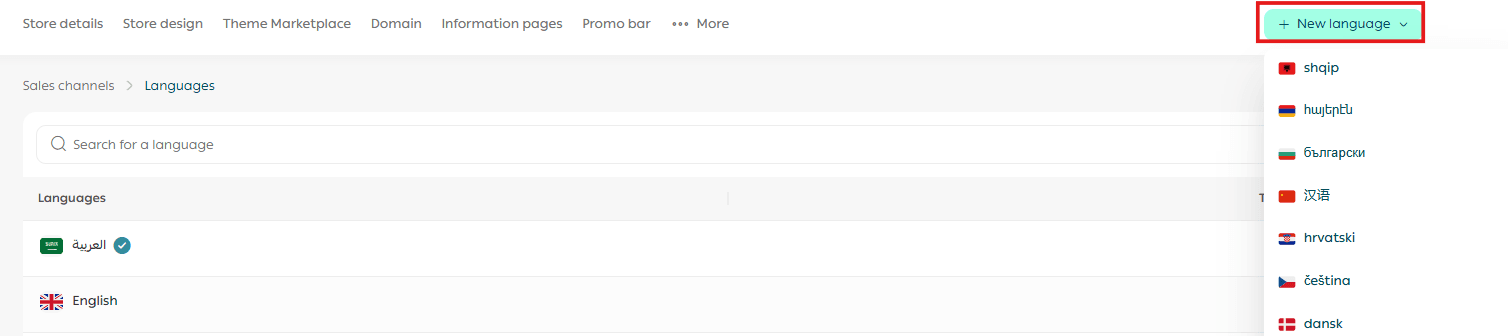
The language will be added immediately.
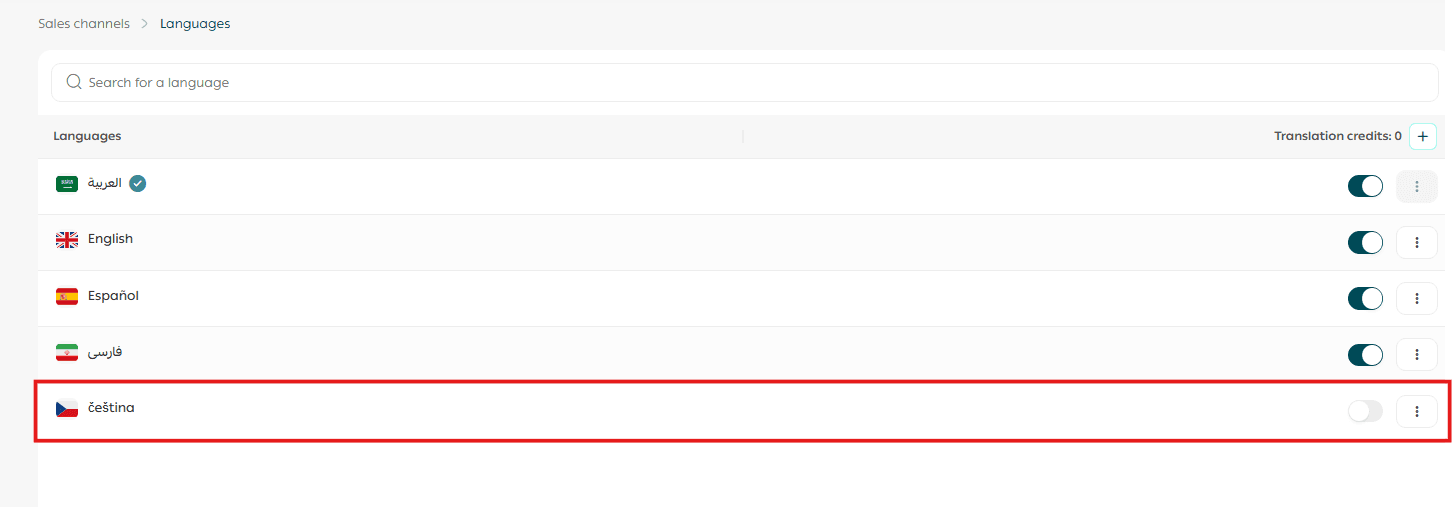
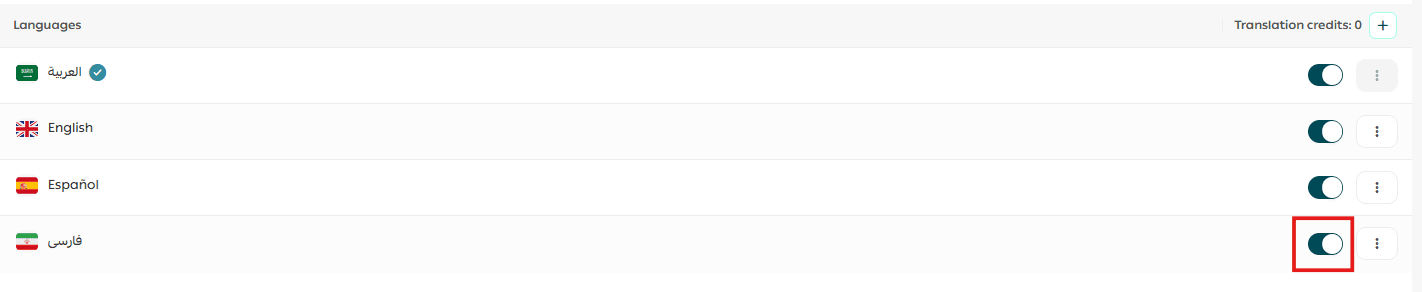
- Turn on the language using the toggle button.

The selected language is now visible to customers in your store.
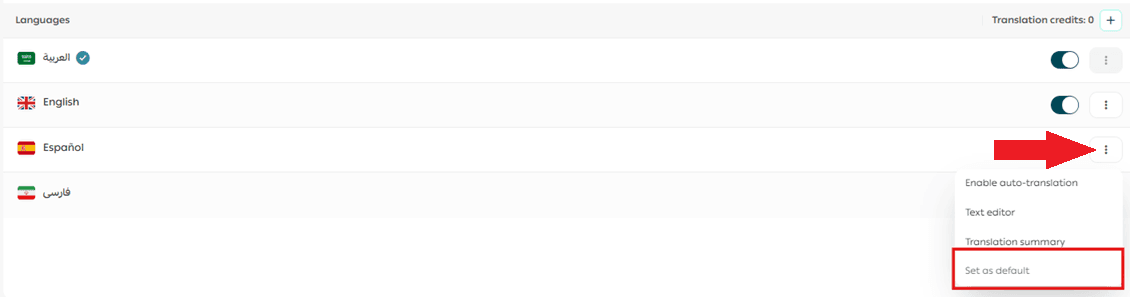
Setting the Default Store Language
The default store language is the primary language used to define all core store content, including:
- Interfaces
- Menus
- Products
- Categories
- Branches
- Offers
- Ads
Example: Setting Arabic as the default language
- All store sections will be created and managed in Arabic.
- Your store is built primarily in Arabic, and additional languages are added afterward.
- When you add a new language, all store content is translated from Arabic into that language.
- Entering data (products, offers, categories, etc.) in Arabic becomes mandatory.
- Entering data in other added languages is optional.
- Choosing Arabic as the default language does not affect how other languages appear to customers.
To set the default language, select it from the list of added languages.
📝 Important note:
You cannot change the default language after content (such as products or categories) has already been translated into other languages, since the default language is used as the base reference.
Available Translation Methods
You can translate your store using one or both of the following methods:
1. Instant Translation
When enabled, your entire store is translated automatically with a single click.
Learn more: Store translation using Instant Translation.
2. Manual Translation
You can manually edit and refine translations using the text editor for higher accuracy and customization.
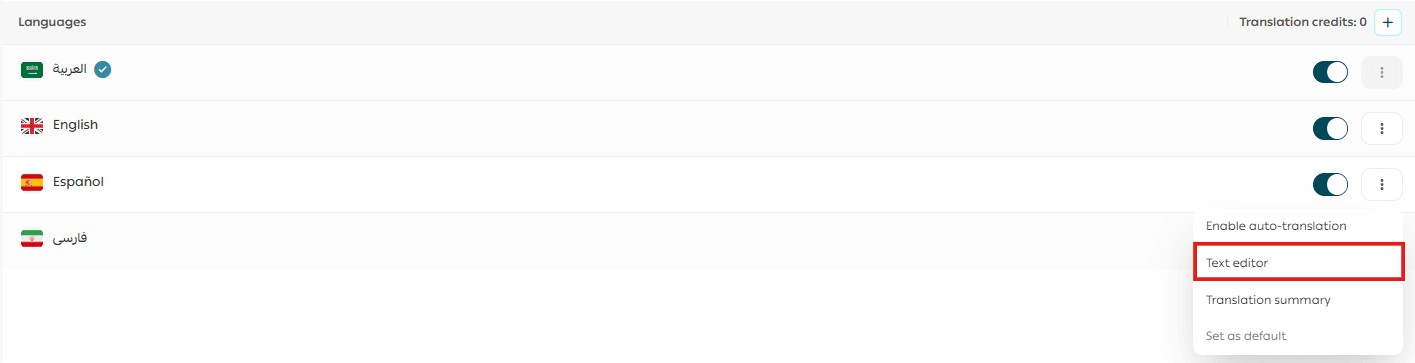
Learn more: Manual translation using the Text Editor.
Frequently Asked Questions
Is the Languages feature free?
Yes. The multi-language feature is free and becomes available once you purchase the Growth (Nomo) theme.
As a merchant, you can choose between:
- Instant Translation (paid automated translation with a small fee)
- Manual Translation (completely free)
You can also combine both methods.
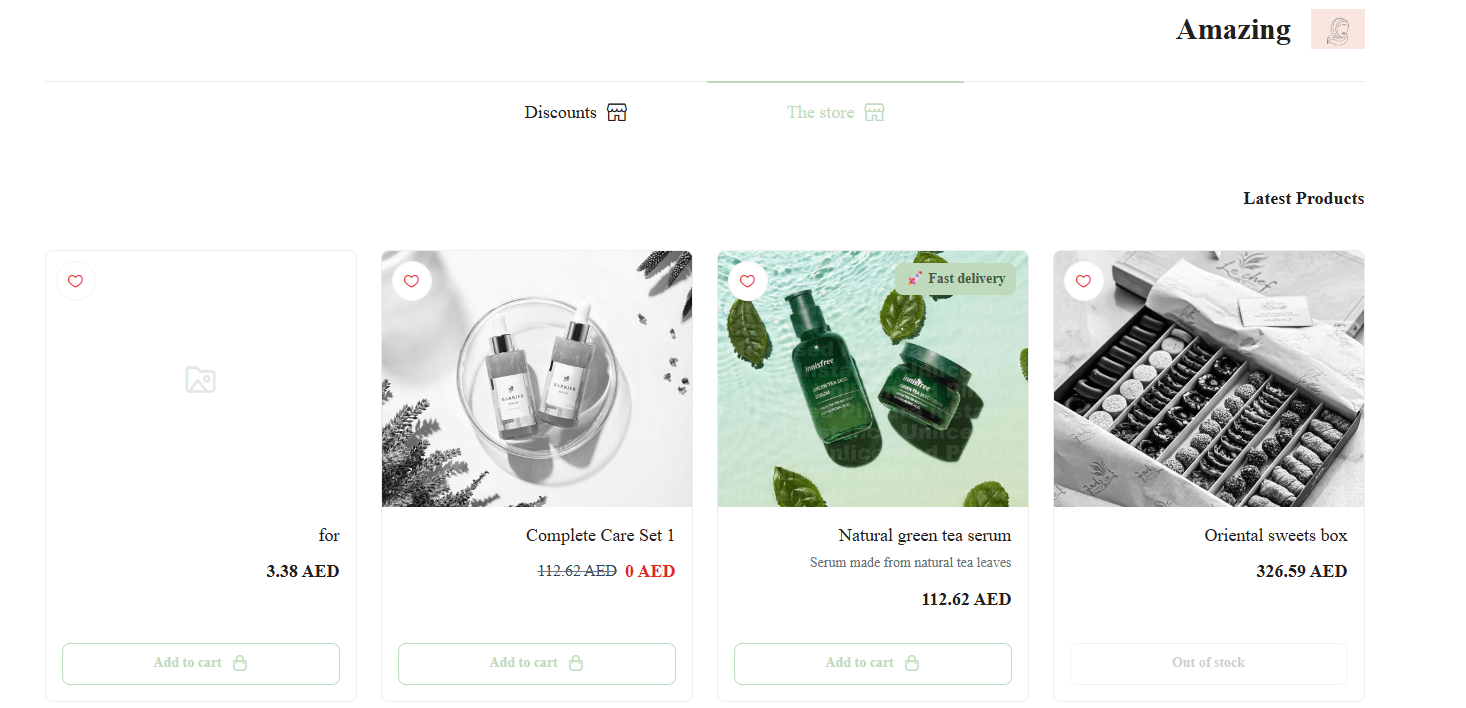
How can customers choose the store language?
A language selector appears at the top of the store, allowing customers to switch between available languages at any time.
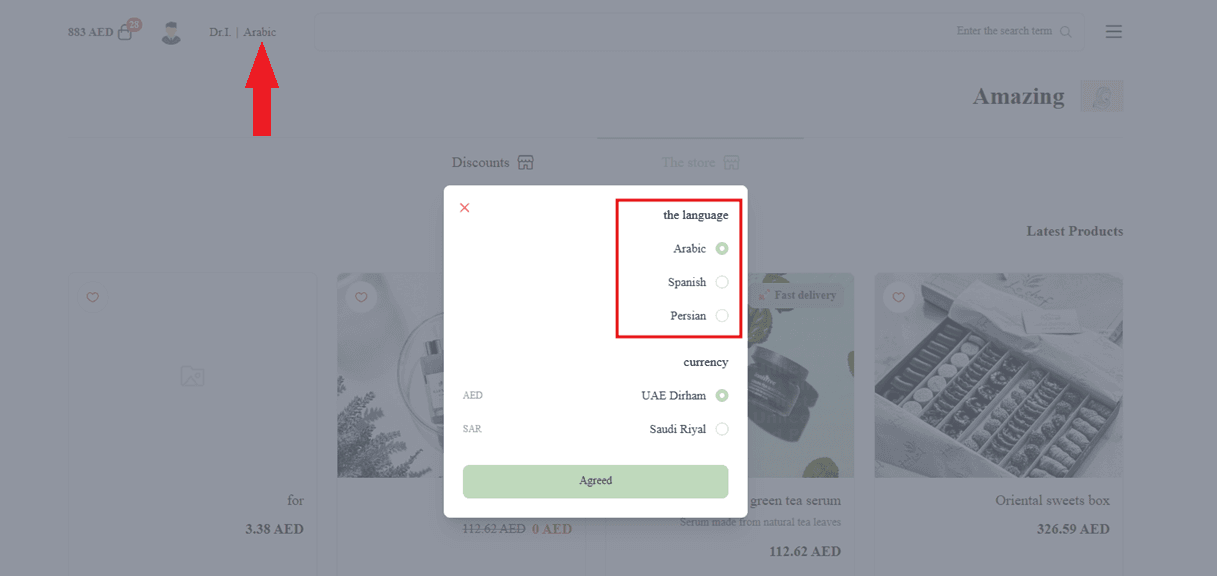
Example:
When English is selected, the store interface will be displayed in English.